Exporting as CIM/XML Files
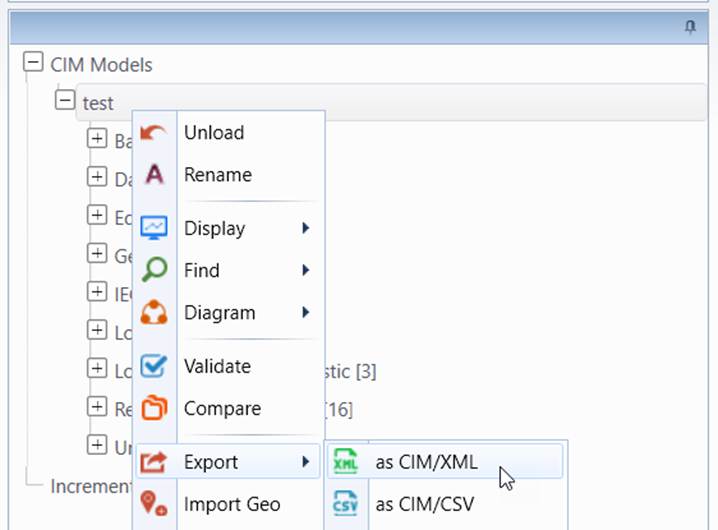
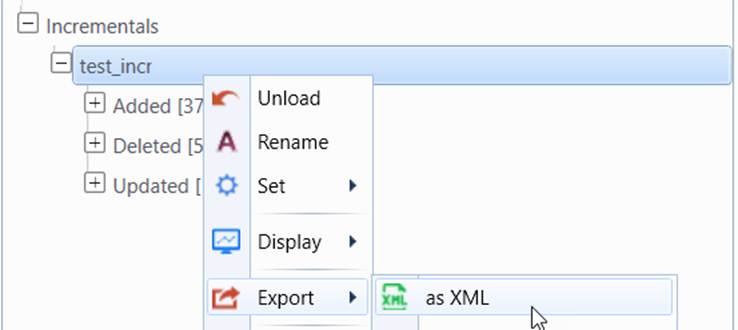
- Right-mouse click the selected model tree item in the Model Explorer navigation tree. Then Select Export →as CIM/XML in the context menu.
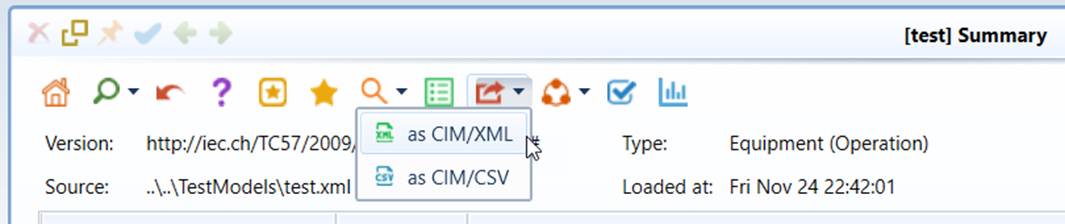
The CIM/XML export function can also be invoked from the icon command in the model summary display, as illustrated below.
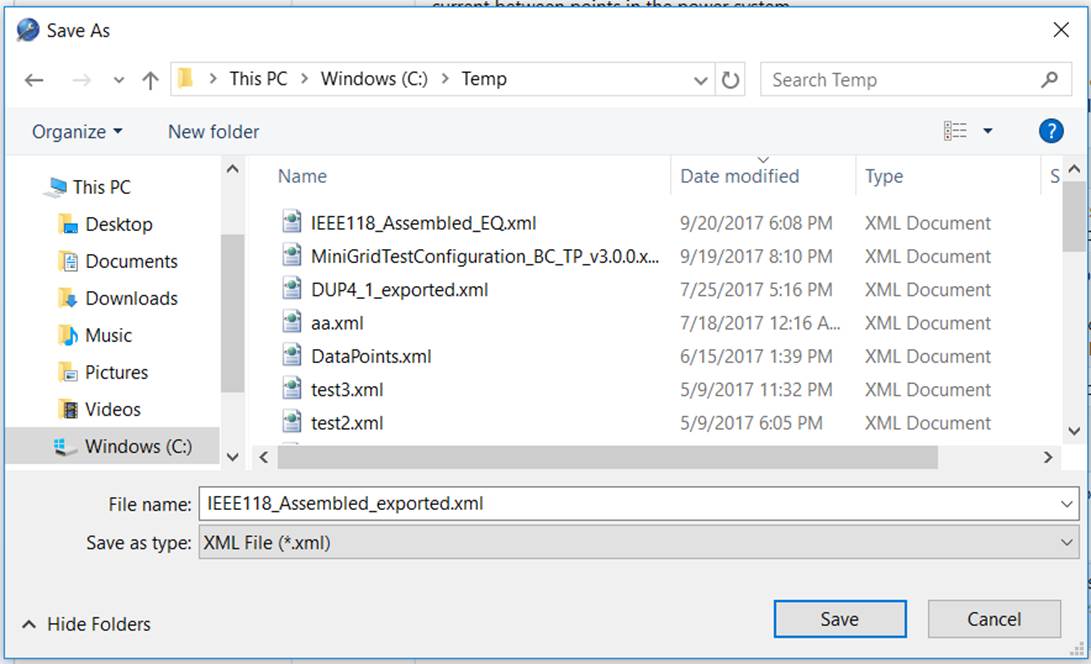
- To export CIM/XML to a local directory, users must specify the path of the directory where the CIM/XML file will stored. This is accomplished through a dialog box, as illustrated below.
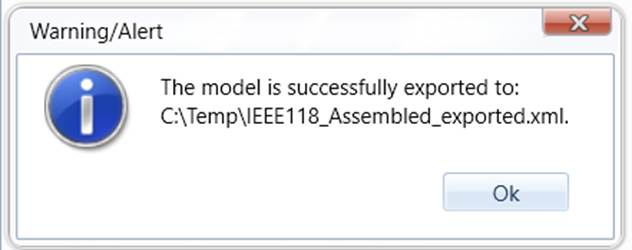
- While the exporting process starts, the UI will be locked from any other activities. Once the exporting is completed, a message will popup, notifying the status.
Note the model exported is not removed from the Tool. The tool simply create a new file to persist the current model as a CIM/XML file.
- Similarly users can load CIM incremental model using the same process.
- By default, deleted content in an incremental model resulting from Model Comparison is included in the exported CIM incremental file, while empty elements are not. However, users can modify these behaviors by changing the configurations, as illustrated below.
