Customizing Model Validation
The Model Validation function is business-process-dependent. In Europe, CGMES is designed to support ENTSO-E multiple business processes, including System Operation, System Development (TYNDP), coordinated security analysis, etc. While sharing common CGMES framework, each business process has freedom of defining its own business-driven restrictions, conventions, etc. There is a need to configure the Model Validation function in support of multiple business processes. This is achieved by leveraging Workspace Support and Validation Configuration.
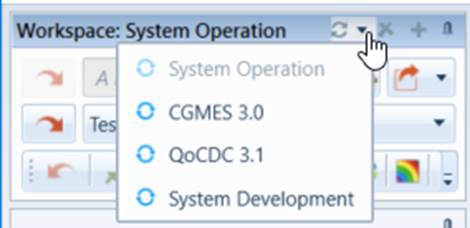
The concept of workspace was introduced to support multi-tasking. A workspace is an independent modeling environment with its own configuration. The concept of workspace enables multiple “customized” versions of the Tools to be hosted within a single instance. This makes it possible to dedicate a workspace for each business process. The dedicated workspace is configured to support a specific business process, including validation, reporting... Users can switch between the business process specific workspaces, as illustrated below.
This articles address validation configuration. With this support, the Model Validation function becomes highly customizable. More specifically, by changing the validation configurations, users can
- Modify the existing validation rules, including severity (Error, Warning, Alert…) and message.
- Disable the existing validation rules.
- Add new validation rules in MQL or Python.
Hands-On
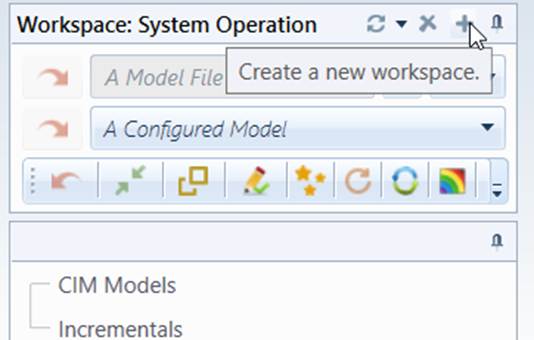
- Create a new workspace.
- Click button “Select Config”.
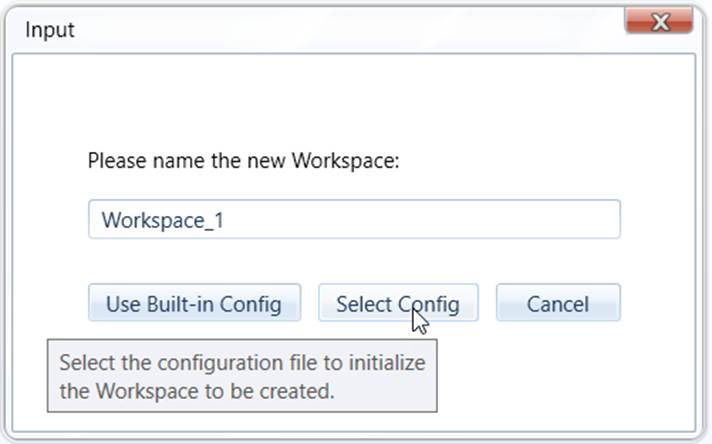
- Select TestConfig.xml from folder \TestCases\validation\customization.
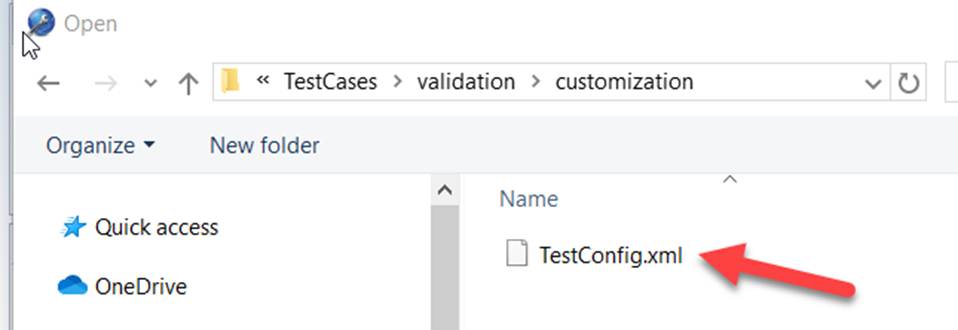
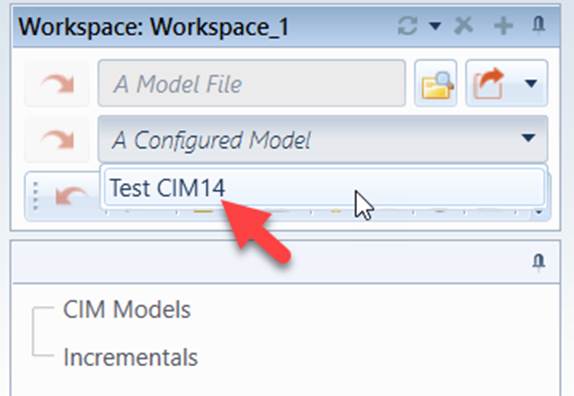
- Load “Test CIM14” from the data source dropdown.
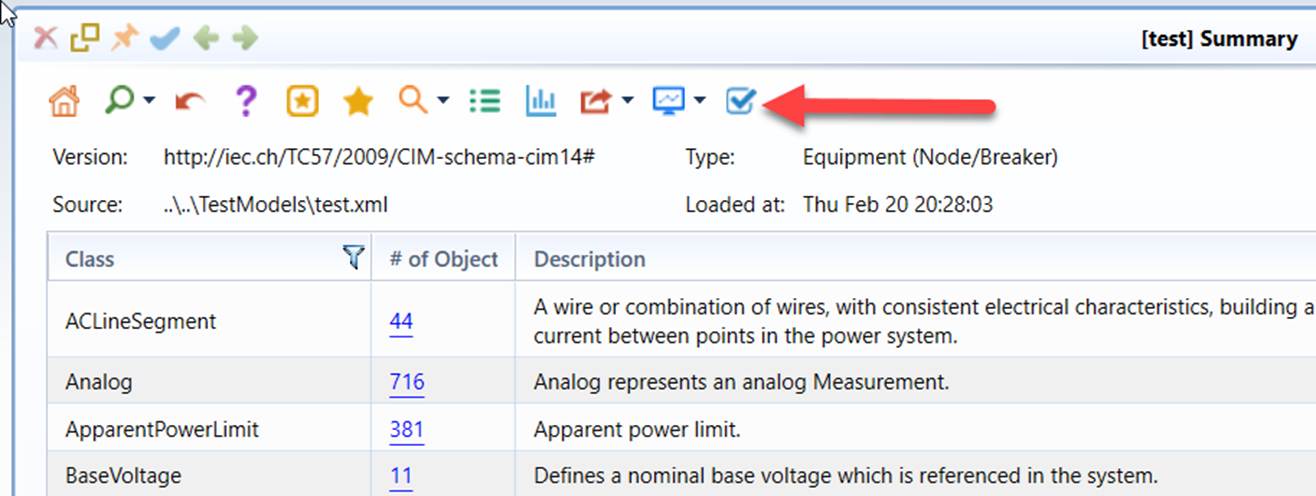
- Run validation for the loaded model.
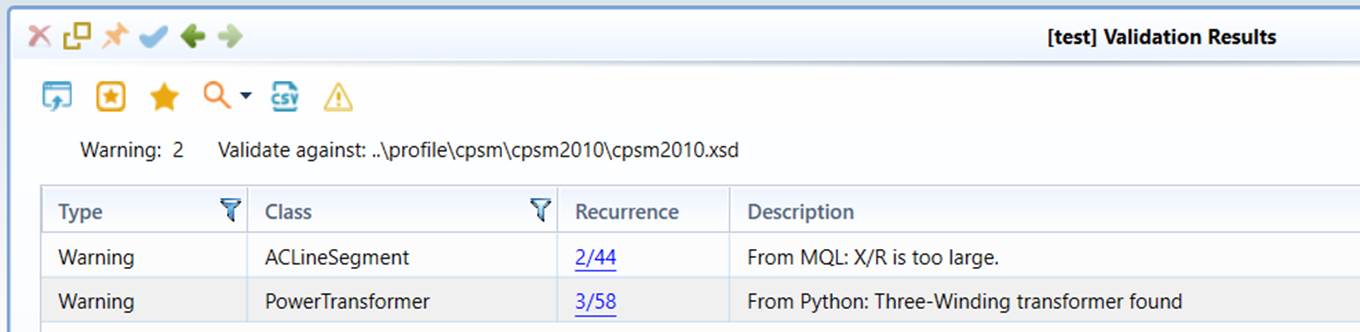
- Check the validation report.
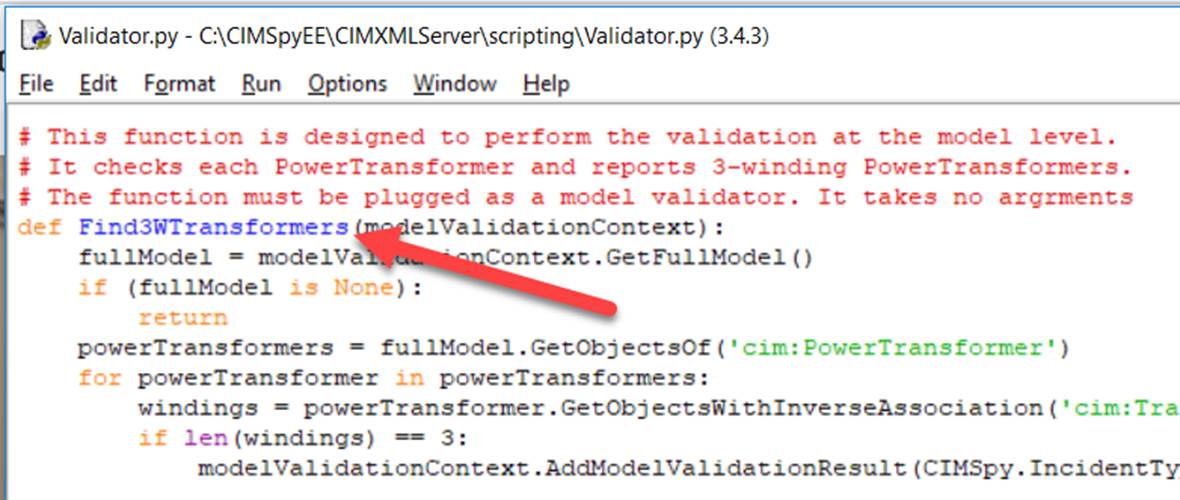
- Check workspace configuration TestConfig.xml and validation configuration TestValidationConfig.csv in folder \TestCases\validation\customization and Python script \scripting\Validator.py.


Validation Configuration
Validation configuration is specified in the format of a CSV file, familiar to most of end-users. The validation configuration CSV file must be declared in the configuration file that governs the corresponding workspace.

There are two configuration settings that must be specified:
- validationConfig: the full path of the validation configuration CSV file.
- disableOtherValidation: if ‘true’, all of the validation rules other than those declared in the validation configuration file will be disabled.
Other validation configurations are summarized below:
- alwaysValidate: If “false”, model validation will not be executed if model validation report is browsed back.
- exportedMsgType: Check Inspecting Validation Report.
- reportEmptyElement: If “true”, empty elements will be reported.
Note
validation configuration can only be specified for a workspace. To perform specific customized validation, models must be loaded into the corresponding workspace.
Validation configuration CSV files are defined as a fixed sequence of columns. The following table describes each column.
Colum Number |
Column Name |
Description |
|---|---|---|
1 |
Name |
Rule name of the corresponding business process. If specified, it will be displayed in the validation report. |
2 |
Group |
Rule group of the corresponding business process. If specified, it will be displayed in the validation report. |
3 |
Code |
Error code used to identify the new or existing validation rules. Multiple codes can be specified, separated by’;’. For the existing validation rules, error codes are used to map with business process rules (identified by Name), such as those from QoCDC. |
4 |
Operation |
Customization type. Valid Operations are:
|
5 |
Type |
Type of the events. Valid Types are Error, Warning, Alert, Info. For existing rules, Type, if specified, will overwrite the existing event type. |
6 |
Message |
Message that describes the reported event. For existing rules, Message, if specified, will overwrite the existing event message. |
7 |
Plug-In Type |
Type of the plug-in validation rule, applicable only when Operation is ‘New’. Valid Plug-In Types are:
|
8 |
Plug-In Validator |
Implementation of the new rule, applicable only when Operation is ‘New’. If Plug-In Type is MQL, the implemented rule is a logical MQL expression. If Plug-In Type is Python, the new rule is specified as ModuleName::FunctionName(Parameter1, Parameter2…). The corresponding Python module must be located in folder \scripting. For Python-based validation rule, Type and Message are normally generated in the script, but can be overwritten like the existing rules. |
9 |
Model Types (Applied) |
Type of the models that the rule applies to. If specified, the new rule will be enabled only when all of the Model Types are contained in the validated model. Valid Model Types are declared as Profile/name in \config\profile\ Standard.xml. Multiple Model Types can be declared and separated by ‘+’. For example EQ + SSH, means the rule will be enabled only when the validated model contains both EQ and SSH model parts. Note this configuration is applicable only when Operation is ‘New’. |
10 |
Model Version |
Version of the models that the rule applies to. If specified, the rule will be enabled only when one of the specified Model Versions matches the version of the validated model. Valid Model Versions are declared as ProfileGroup/name in \config\profile\ Standard.xml. Multiple Model Versions can be declared and separated by ‘;’. Note this configuration is applicable only when Operation is ‘New’. |
11 |
Model Type (Reporting) |
Type of the model that the message will be reported for. This configuration is only applicable for CGMES validations where model parts are validated against each other. By default, the message will be reported for the base model part (such as EQ). This configuration, if specified, will specify which model part the message shall be reported for. |
12 |
Comments |
Comments added for information only. It will not be displayed in the validation report. |
To modify the existing validation rules, users must find out the codes of these rules. By default, codes of validation rules are not displayed in the validation report. To display codes of validation rules in the validation report, users can change the configuration in \config\ui\AddonConfig.xml.
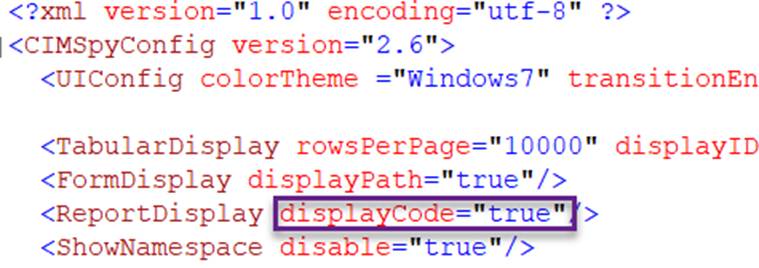
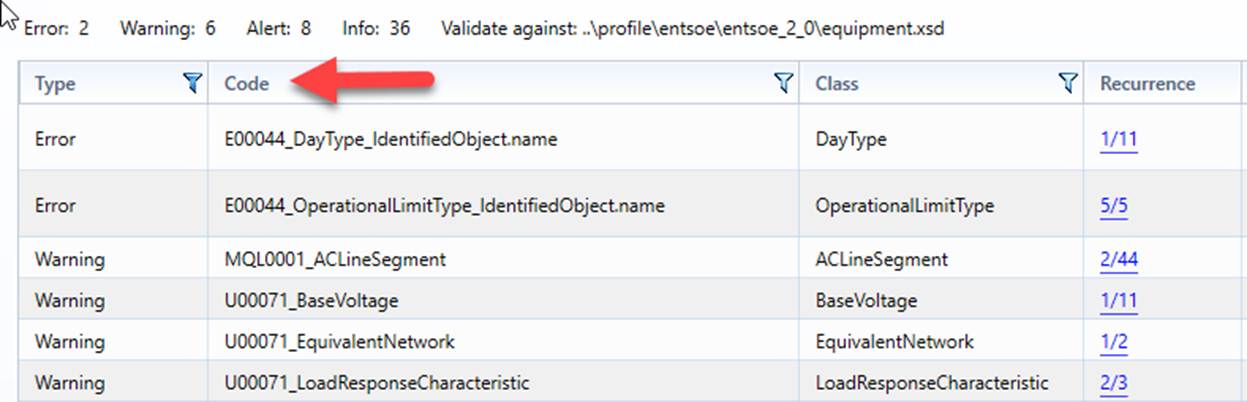
Once displayCode is set to ‘true’, codes of the existing validation rules will be displayed in the validation report, as illustrated below.