Setup MySQL
This article shows how to setup MySQL server, ODBC connectors for MySQL and MySQL configuration for setting up Modelspace database. The 64-bit MySQL server and 64-bit ODBC connector will be installed first through the community package. They will work with 64-bit Tool. If users use 32-bit Tool, the 32-bit ODBC connector should be installed. After users finish MySQL database setup and configuration, they have to make a few special changes in MySQL configuration “my.ini” file.
Install MySQL Community Edition
For this article, MySQL Version 5.5 is used for demonstration purpose. Users can setup any version of MySQL server in a similar fashion. It is assumed that users have Window 7 64-bit OS and installed 64-bit Tool on the computer.
- Download MySQL Community Edition Version 5.5 from the following link: http://dev.mysql.com/downloads/windows/installer/5.5.html
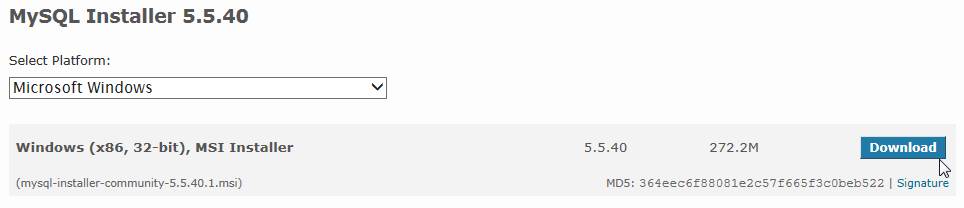
- When prompted to login, users can skip it and go directly to download. Note: there may be new released Installer for download and users may get other minor version of 5.5 instead of 5.5.40.

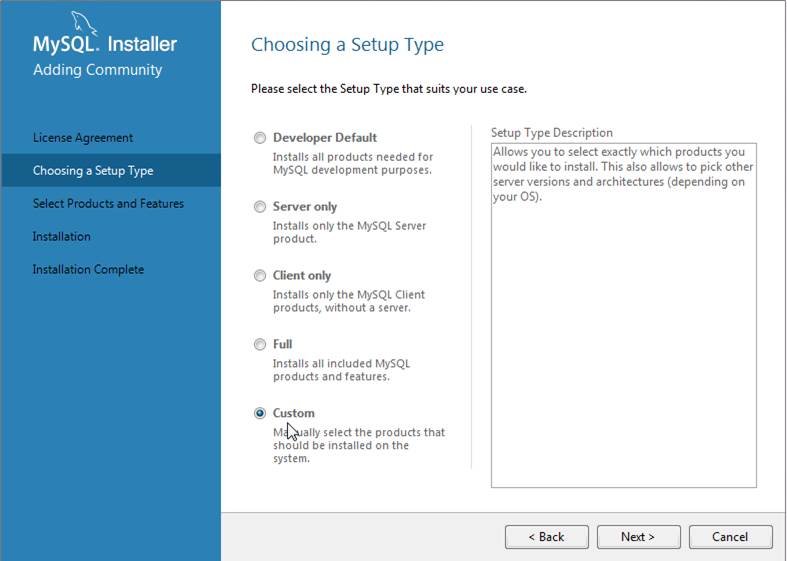
- Save the downloaded installer to a local folder and double click it to start installation. Follow the installation instructions using default selections. When prompted to choose a Setup Type, select “Custom” and continue.
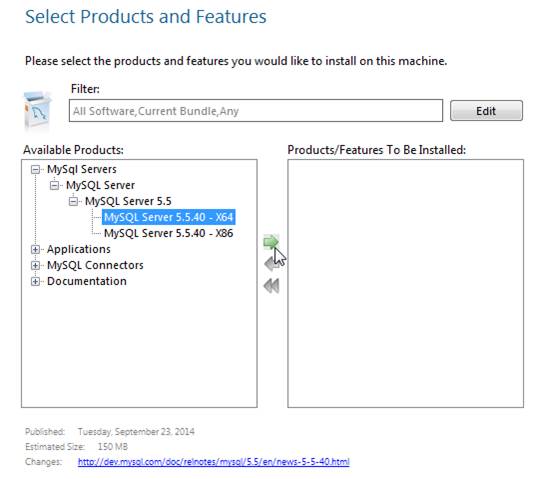
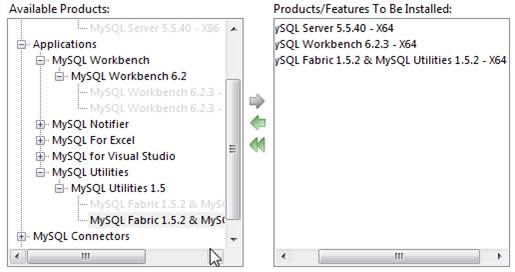
- When prompted to select Products and Features, expand MySql Servers -> MySQL Server -> MySQL Server 5.5 tree node and select MySQL Server 5.5.40 – X64 and like the è to add it to the To Be Installed list.
- Repeat the previous step to add Applications -> MySQL Workbench -> MySQL Workbench 6.2 -> MySQL Workbench 6.2.3 – X64 and Applications -> MySQL Utilities -> MySQL Utilities 1.5 -> MySQL Fabric 1.5.2 & MySQL Utilities 1.5.2 – X64 to installation list.
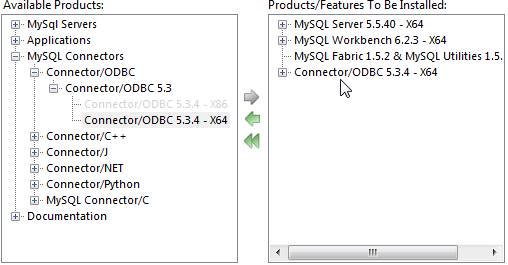
- Finally, add MySQL Connectors -> Connector/ODBC -> Connector/ODBC 5.3 -> Connector/ODBC 5.3.4 – X64 to the installation list and continue by clicking Next.
- Continue with installation after the selection. If prompted with a message of “failing requirements”, continue by clicking Execute.
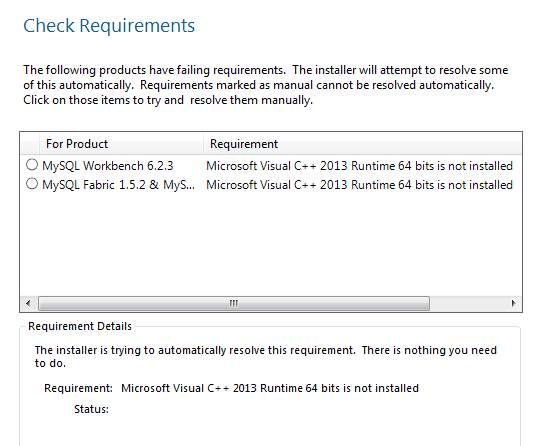
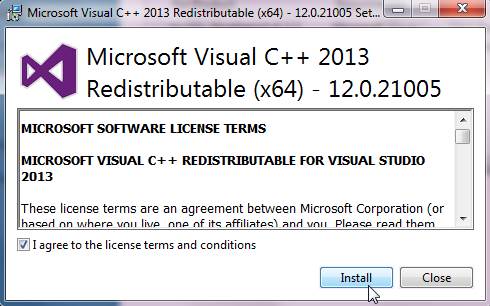
- The installer will automatically install Microsoft Visual C++ 2013, both (x64) and (x86), to meet the system requirements. Users may be prompted to Repair a couple of time. Always click Repair to continue.
- Finally, all requirements will be satisfied. Click Next to continue.
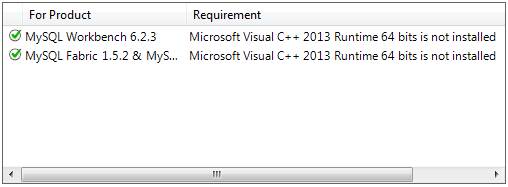
- Finally, all requirements will be satisfied. Click Next and Execute to continue.
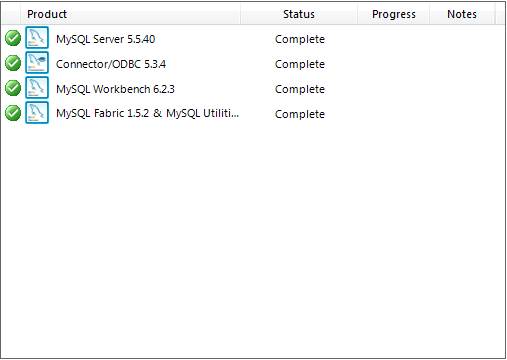
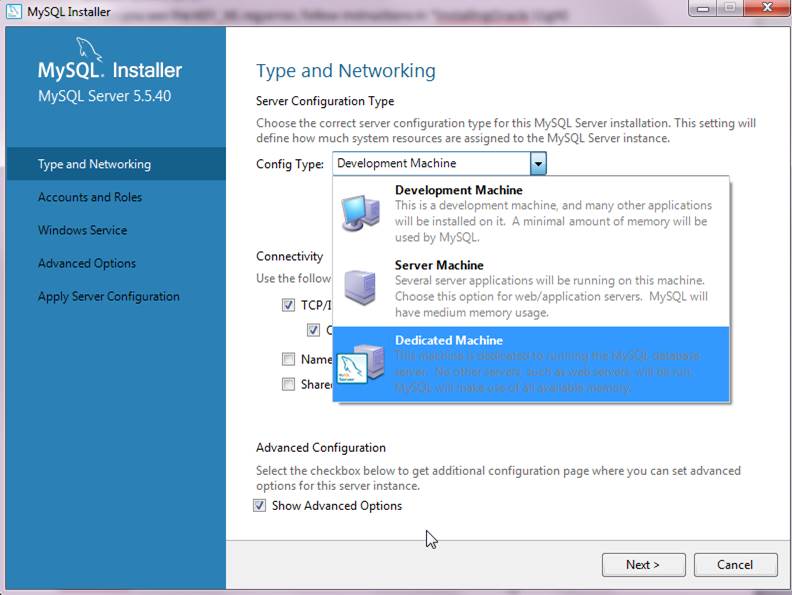
- When installations are completed, the configuration will start. First, choose an appropriate Config Type. For this article, “Development Machine” is selected for demonstration purpose.
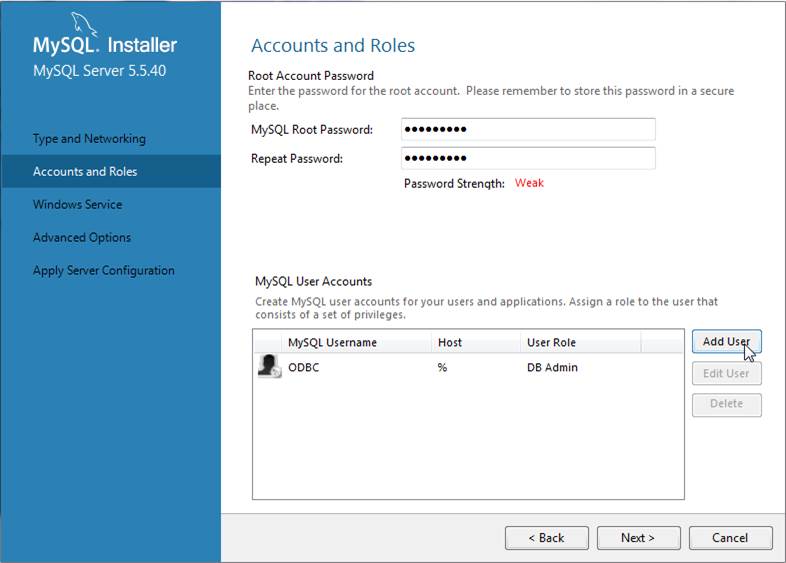
- Give a proper password for “Root” Account. For production environment, follow company’s security policy for password strength. It is recommended to create a separate User, using Add User, for ODBC connection purpose.
- Follow default settings for the next configuration windows. Click Execute to Apply Server Configuration.
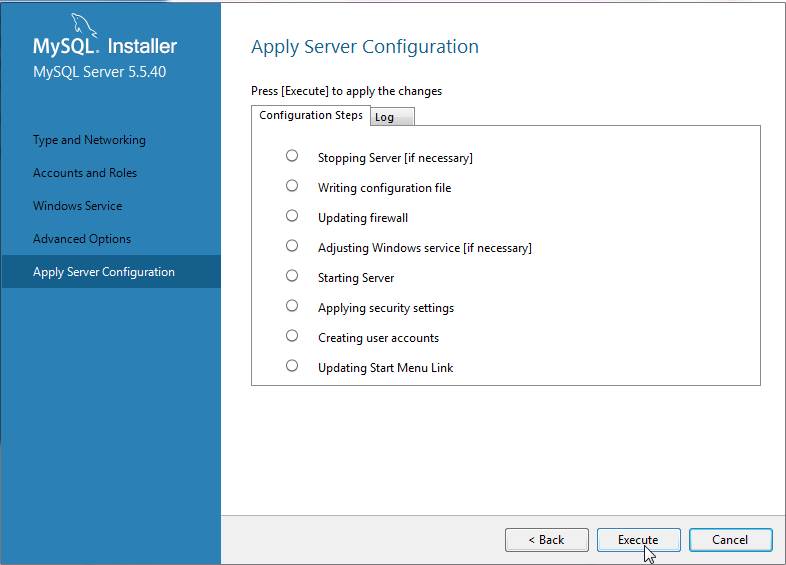
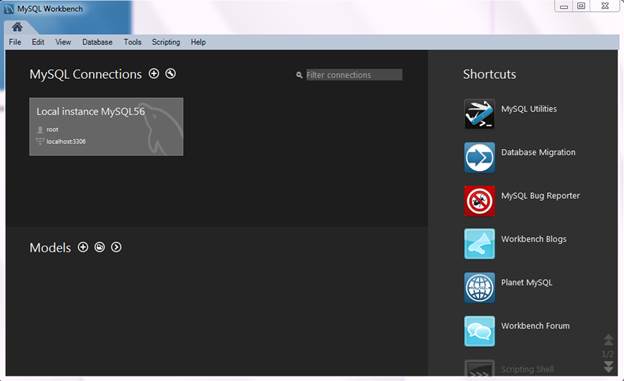
- Click Next to continue. Follow the instructions to finish the installation. When the installation is done, the MySQL management UI “MySQL Workbench” will be launched automatically. The next step is to configure Modelspace database in Workbench.
Configure MySQL Server for Modelspace
The 64-bit MySQL Server and ODBC Connector are installed at this time. Users can start to setup the Modelspace database in Workbench.
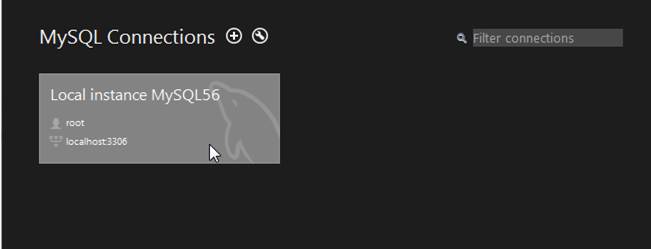
- Double click on the “Local instance MySQL56” to enter the management page.
- Click on the “Create a new schema” icon and give the new Schema Name “cimdb”.
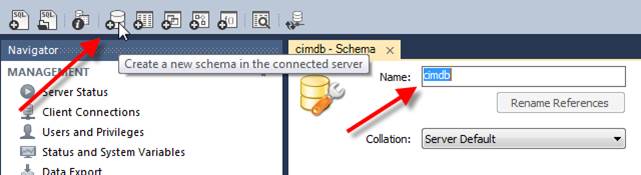
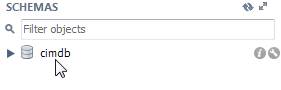
- Finally, the “cimdb” database is created as Modelspace. Users can use other Schema name. Note the name for Modelspace configuration on Modeling Server.
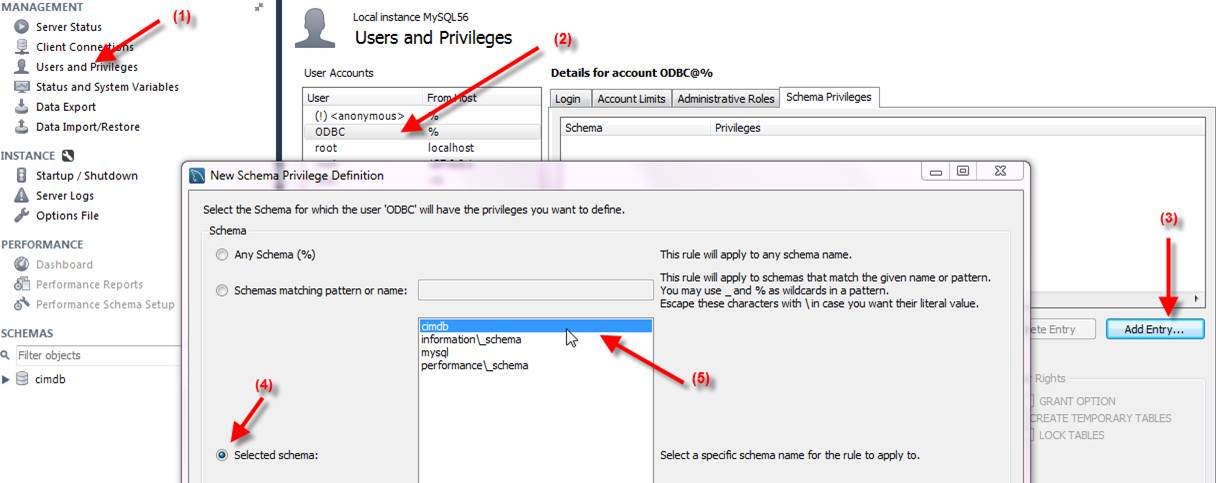
- If the default “Root” account is used for ODBC connection in test environment, the configuration is done. For other environment where independent account is used, follow the (1) to (5) to add the Schema to the user account’s access.
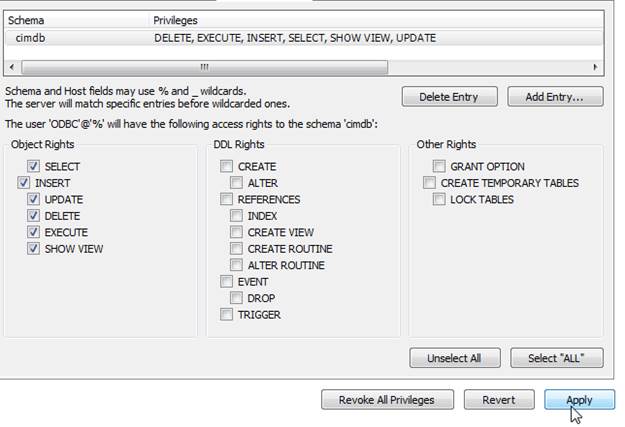
- Apply appropriate Privileges when prompted.
- Note down the Schema (Database) Name, User Name (“Root” or special user account) and Password. They will be used in Modelspace configuration after database setup is done. When the Modelspace configuration is done, users have to make a change in MySQL Server configuration “my.ini” to increase the “max_allowed_packet” setting shown in the next section.
Special Changes in MySQL Server Configuration File
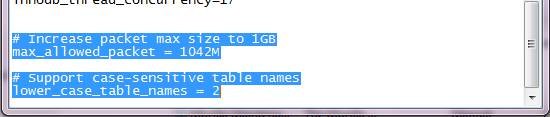
- Important: There are two changes need to be made manually in my.ini configuration file: (1) the default “max_allowed_packet” in MySQL server settings has a default 1MB value. It is too small to contain some of the XML objects. Users must set it to a large value. The recommended value is “1042M”. (2) By default, MySQL uses lower cases to name the tables. To support case-sensitive table names, users must set the “lower_case_table_names = 2”. The following are the steps to make the changes:
- First, locate the MySQL server configuration file “my.ini”, under C: -> ProgramData -> MySQL -> MySQL Server 5.5 folder. This is default folder location for Windows 7 64-bit installation. Users may have to search for this folder if different OS or MySQL Server is used.
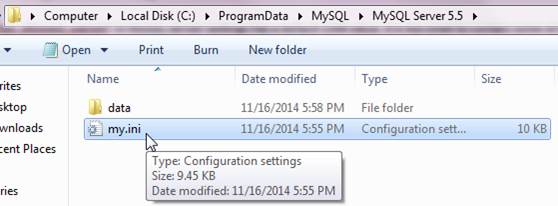
- Open “my.ini” with a text editor. Scroll to the bottom and add “max_allowed_packet = 1042M” and “lower_case_table_names = 2” as two separate lines below the last line.
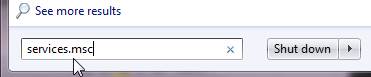
- Need to restart MySQL server to take the new configuration setting. In Windows Start -> Search box, enter “services.msc” and enter.
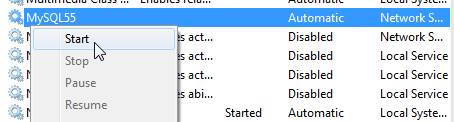
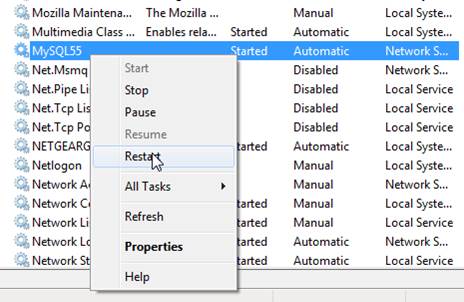
- In the launched services manager, find MySQL55 and click Restart from its context menu.
- First, locate the MySQL server configuration file “my.ini”, under C: -> ProgramData -> MySQL -> MySQL Server 5.5 folder. This is default folder location for Windows 7 64-bit installation. Users may have to search for this folder if different OS or MySQL Server is used.
Install 32-bit ODBC Connector for 32-bit Modeling Server
So far, only 64-bit ODBC Connector has been installed. If users use 32-bit Tool, 32-bit ODBC connector is needed to connect to 32-bit Modeling server.
- Download the (x86, 32-bit) ODBC Connector installer at http://dev.mysql.com/downloads/connector/odbc/.
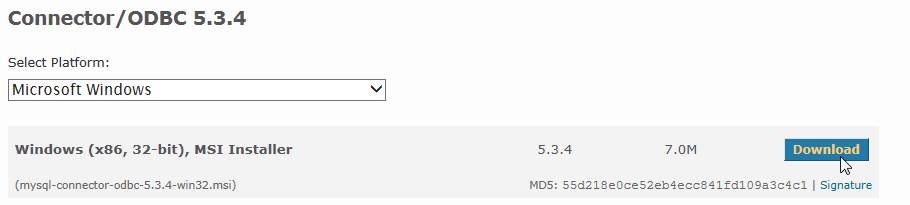
- When prompted to login, users can skip it and go directly to download. Note: there may be new released Installer for download and users may get other minor version of 5.3 instead of 5.3.4. Save the downloaded installer to a local folder and double click it to start installation. Follow the installation instructions using default selections to complete the installation.
- Note: There are two versions of ODBC Connectors, 32-bit and 64-bit. This is how to verify them:
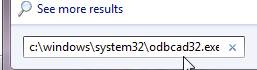
- For verifying x64 bit connector (which works with 64-bit Server), type this command in Windows Start -> Search box “c:\windows\system32\odbcad32.exe” and enter.
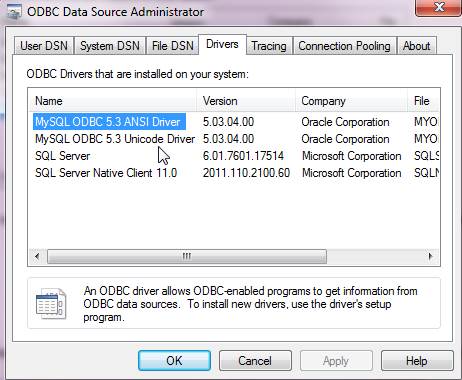
- In the ODBC Administrator dialog, click “Drivers” tab. There should be “MySQL ODBC 5.3 ANSI Driver” and “MySQL ODBC 5.3 Unicode Driver” there. Users can choose the flexibility to handle data using any character set through its Unicode-enabled driver, or the maximum raw speed for a more limited range of character set through its ANSI driver.
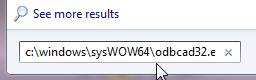
- If users have 32-bit connector in 64-bit Windows 7 OS, type this command in Windows Start -> Search box “c:\windows\sysWOW64\odbcad32.exe” (different from the previous ODBC Administrator) and enter.
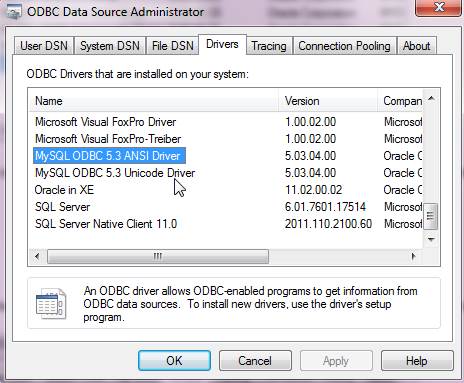
- In this 32-bit ODBC Administrator dialog, click “Drivers” tab. There should be “MySQL ODBC 5.3 ANSI Driver” and “MySQL ODBC 5.3 Unicode Driver” for ANSI character set or Unicode character set. There should be more 32-bit drivers in this list. Scroll to the bottom to find it.
Trouble Shooting
- When there is data error detected during initialization and the server log shows “Error message: [MySQL][ODBC 5.3(w) Driver]MySQL server has gone away”, the most likely cause is the “max_allowed_packet” still has the default 1MB value. It is too small. Have to set it to a large value. The recommended value is “1042M”.
- Follow the steps in previous section “Change MySQL Server Configuration Max Packet Size Setting” written above.
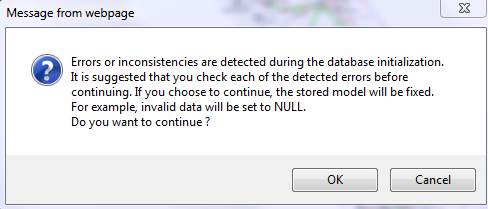
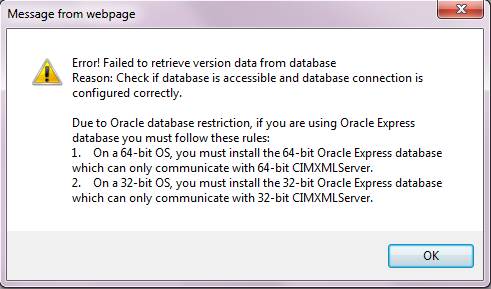
- If the following error is prompted when users try to establish a connection to MySQL Server, the likely cause is the MySQL Server stops running.
- To restart MySQL Server, in Windows Start -> Search box, enter “services.msc” and enter.
- Find “MySQL55” service. If it is not “Started”, click Start from its context menu.