Setup MS SQL Server
Install MS SQL Express Server
For this article, MS SQL Server Express is used for demonstration purpose. Users can setup any version of MS SQL server in a similar fashion. It is assumed that users have Window 7 64-bit OS and installed 64-bit Tool on the computer.
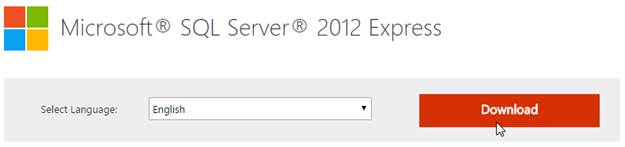
- Download MS SQL Server 2012 Express. In web browser, navigate to the download URL http://www.microsoft.com/en-us/download/details.aspx?id=29062. Click Download button to continue.
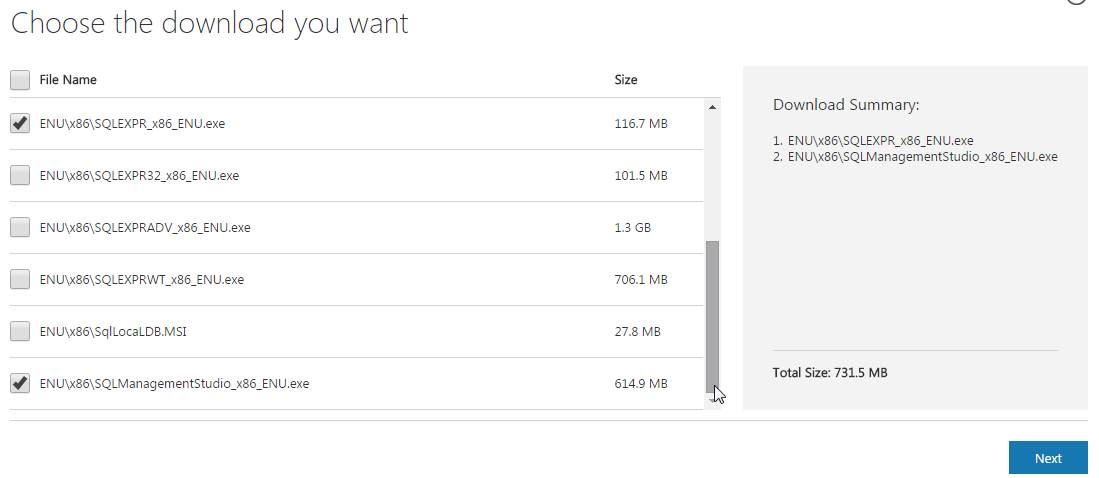
- Users will be prompted to select from a list of installer programs. Scroll to the bottom and select “SQLEXPR_x86_ENU.exe” and database management studio “SQLManagementStudio_x86_ENU.exe”. Click Next to download the installers to your local folder.
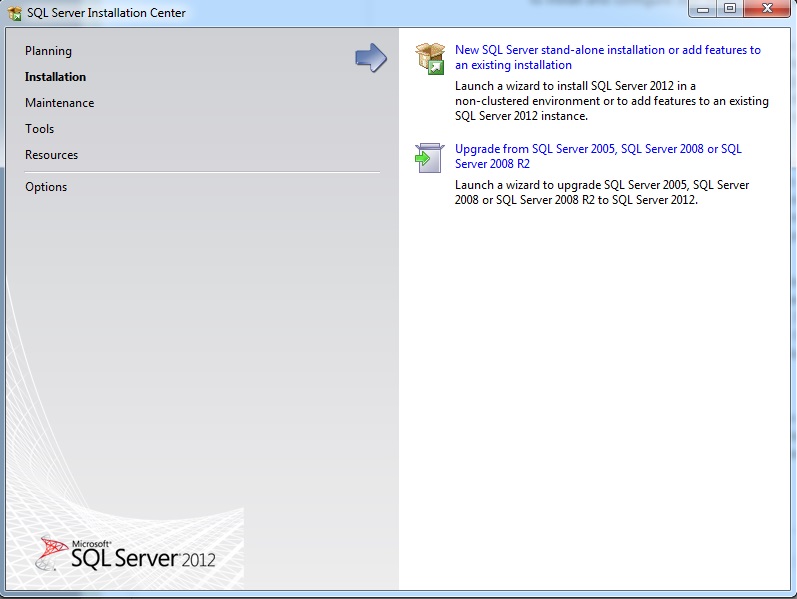
- Next start the installer “SQLEXPR_x86_ENU.exe” by double clicking the downloaded file. The “New SQL Server …” option should be selected.
- Keep all the default settings as the installation progresses.
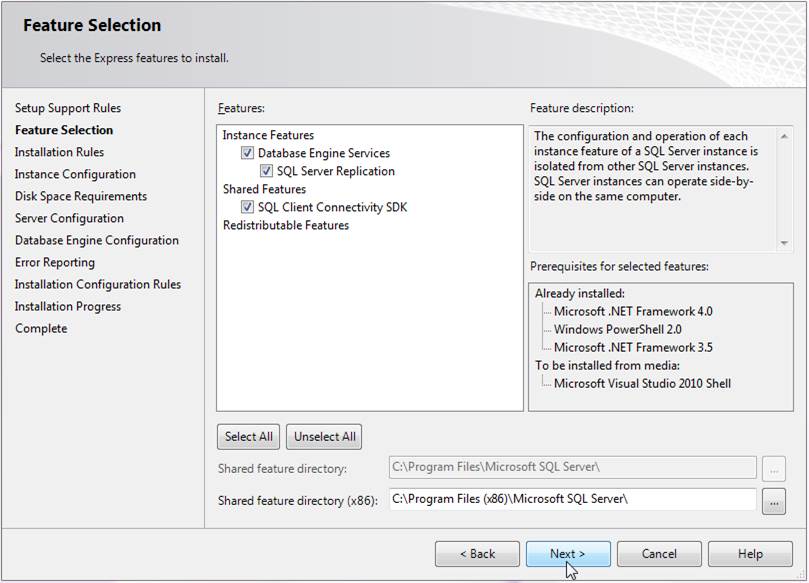
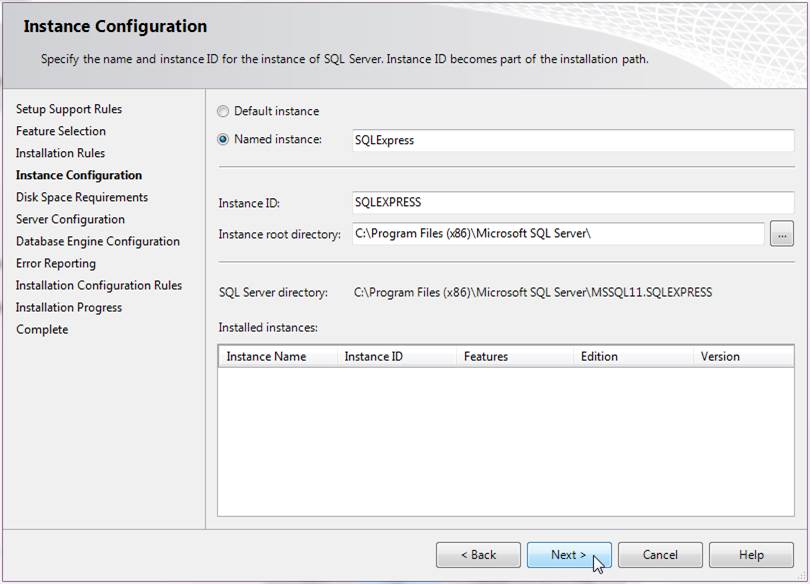
- Use “SQLExpress” as “Name instance” provided by installer.
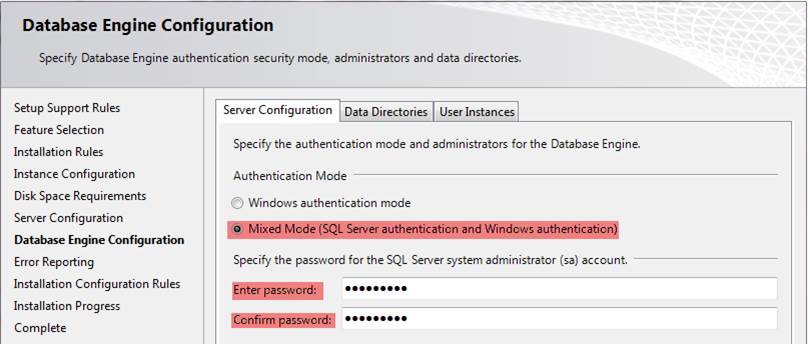
- In Database Engine Configuration, when “Authentication Mode” selection is prompted, select “Mixed Mode” and enter the system password. Keep the password is a safe place.
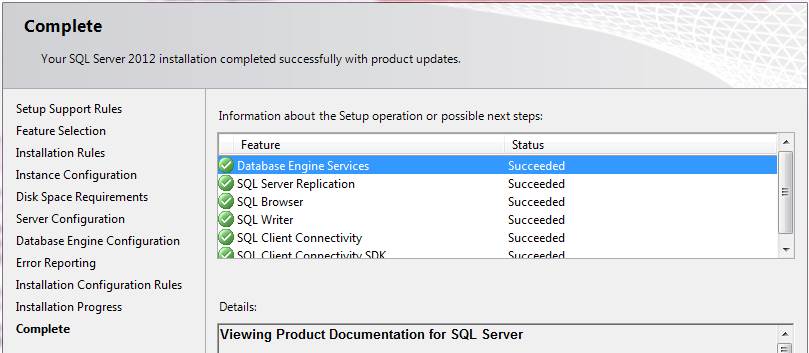
- Follow the installer default settings to complete the installation.
- The next step is to install the SQL Server Management Studio by double clicking the downloaded installer “SQLManagementStudio_x86_ENU.exe”. Again, choose “New SQL Server …” when prompted.
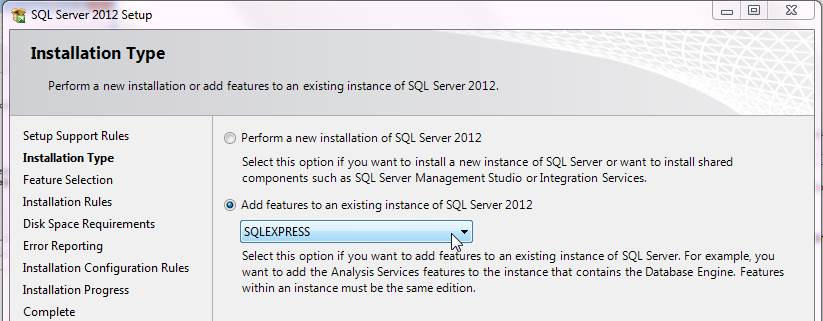
- In Installation Type, select “Add features to an existing instance of SQL Server 2012” and choose “SQLEXPRESS”.
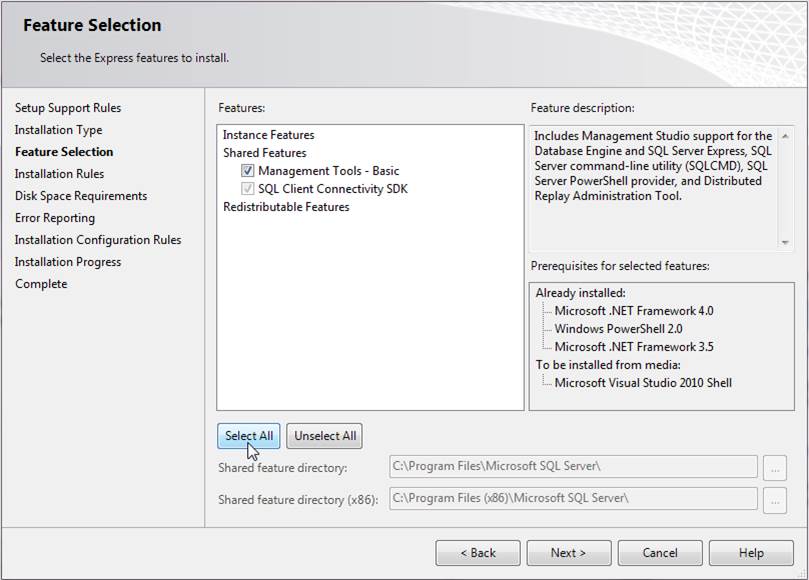
- In Feature Selection, click Select All and Next button to continue.
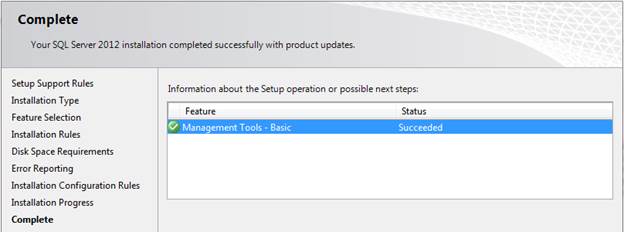
- Complete the installation with default settings
Verify SQL Express Server Installation
SQL Express Server installer will automatically install ODBC Connectors as well. Users can verify the status of installed SQL Express Server and the ODBC Connector drivers.
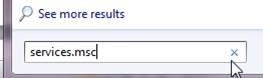
- When installation completes, users can choose to verify SQL Server Express is running on the computer by typing command “services.msc” in the Windows Start -> Search box and enter.
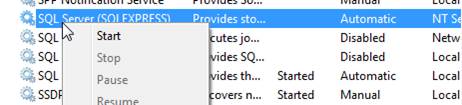
- When Services Manager is launched, look for “SQL Server (SQLEXPRESS)” service. It should show “Started” status. If not, you can manually start it by clicking Start from its context menu.

- When Services Manager is launched, look for “SQL Server (SQLEXPRESS)” service. It should show “Started” status. If not, you can manually start it by clicking Start from its context menu.
- There are two versions of ODBC Connectors installed, one for connecting to 32-bit Modeling Server and the other for 64-bit Server. Users should be able to verify both:
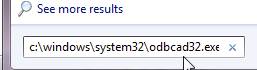
- For verifying x64 bit connector (which works with 64-bit Modeling Server), type “c:\windows\system32\odbcad32.exe” in Windows Start -> Search box and enter.
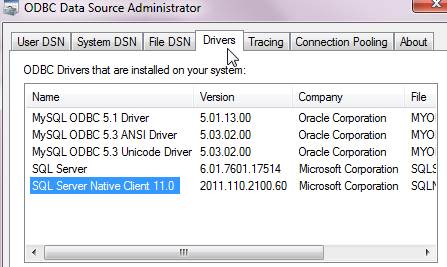
- In the ODBC Administrator dialog, click “Drivers” tab. There should be “SQL Server Native Client 11.0” driver there.
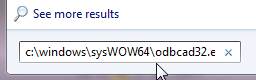
- For verifying 32-bit connector in 64-bit Windows 7 OS, type “c:\windows\sysWOW64\odbcad32.exe” in Windows Start -> Search box (different from the previous ODBC Administrator) and enter.
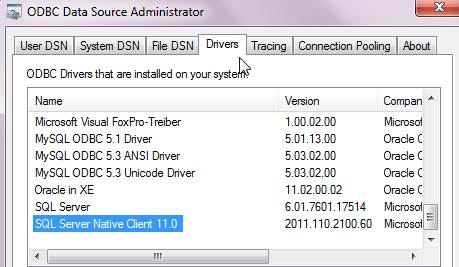
- In this 32-bit ODBC Administrator dialog, click “Drivers” tab. There should be “SQL Server Native Client 11.0” driver there at the bottom of the list.
- For verifying x64 bit connector (which works with 64-bit Modeling Server), type “c:\windows\system32\odbcad32.exe” in Windows Start -> Search box and enter.
Configure MS SQL Server for Modelspace
With both SQL Server and ODBC Connector verified, the next step is to setup Modelspace database.
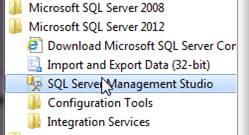
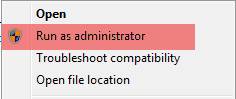
- First start the SQL Server Management Studio from the Programs Start Menu. Locate SQL Server Management Studio under Microsoft SQL Server 2012, right mouse click to bring up context menu. Click Run as administrator to launch it. (In some cases, not running as administrator has caused problems in SQL Server management activities.)
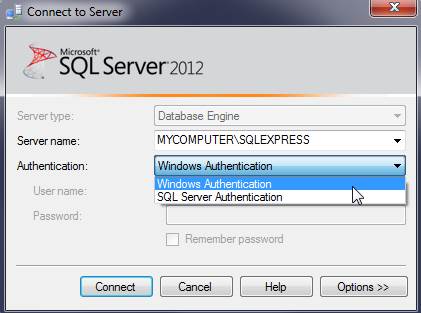
- If the SQL Server is installed with Mixed Authentication Mode (shown in the Installation steps above), users can log in with Windows Authentication without password. Click Connect button to continue.
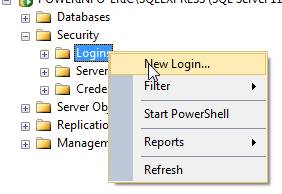
- After log into the management studio, a connection account (Login user) needs to be created for Modeling Server to connect with Modelspace database. In the navigation panel, bring up the context menu of Security -> Logins and click New Login…
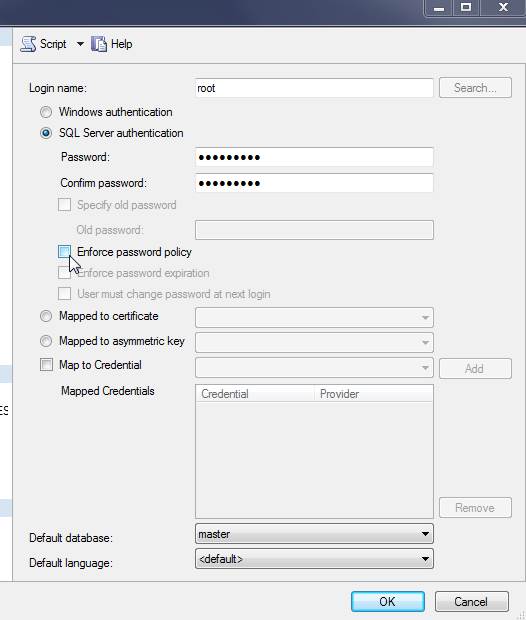
- In the New Login dialog, click “SQL Server authentication” first. Password input box should be enabled. For demonstration purpose, Login name “root” and password “powerinfo” are used. The “Enforce password policy” is unchecked. (NOTE: This Login is for development only. For production setup, always check company’s security policy regarding database connection. Usually, security policy requires a much stronger authentication credentials.)
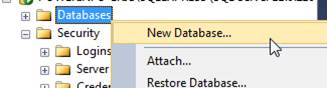
- The next step is to create the Modelspace database. In the navigation panel, right mouse click on Databases. In context menu of Databases, click New Database…
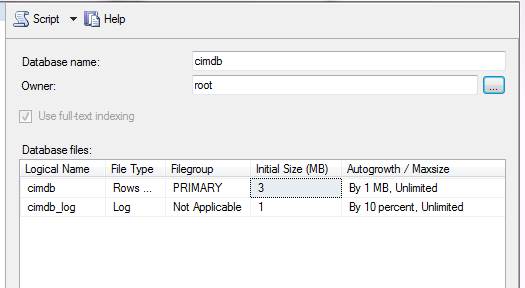
- For demonstration purpose, the Database name is given as “cimdb”. For the “Owner” input box, user should type in the Login name created above for Server connection. In this example, it is “root”. Click OK to finalize the database creation.
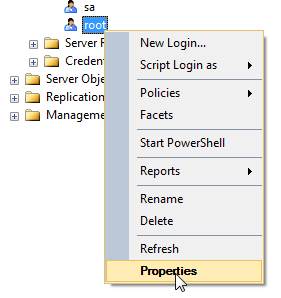
- To verify the Login and Database are properly set up, click Properties in the context menu of Security -> Logins -> root.
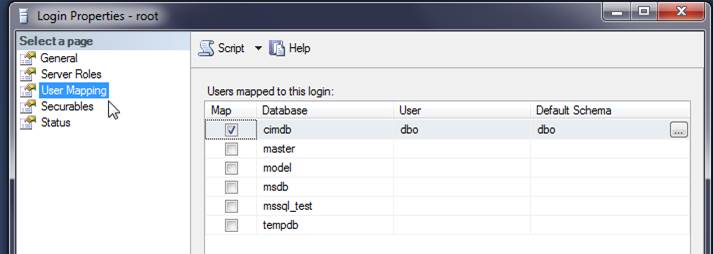
- Select User Mapping page from navigation panel. The proper settings should show “cimdb” is checked and “dbo” is assigned to both User and Default Schema. The Modelspace setup is completed. The next step is to configure Modeling Server to connect to database.
- Note: the database name “cimdb” and connection login account “root” and password “powerinfo” are needed for the Server Configuration.
- Note: the database name “cimdb” and connection login account “root” and password “powerinfo” are needed for the Server Configuration.
Trouble Shooting for SQL Server Setup
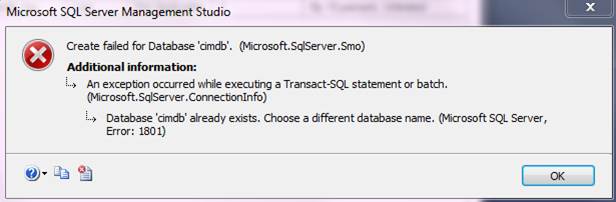
- If the following error is prompted when users create the new database, there is already a database with the same database name in the server. Users should choose a different name for the new database.
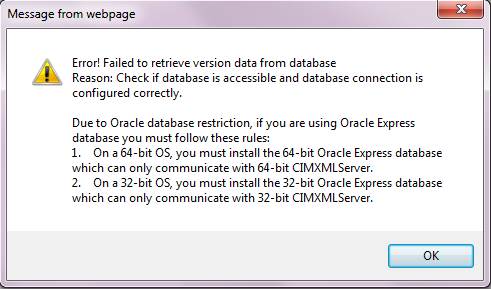
- If the following error is prompted when users try to establish a connection to MS SQL Server, the likely cause is the SQL Server stops running.
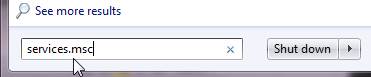
- To restart SQL Server, in Windows Start -> Search box, enter “services.msc” and enter.
- Find “SQL Server (SQLEXPRESS)” service. If it is not “Started”, click Start from its context menu.