Setup Oracle
This article shows how to setup Oracle Express server and configure Oracle for setting up Modelspace database. Oracle Express Edition comes with two versions of Windows installers: 32-bit and 64-bit. These installers can only be installed on the same Windows architecture. For Windows 7 64-bit, users must download and install 64-bit installer. Oracle Express automatically installs ODBC Connector with the same architecture. Therefore, for using Oracle Express database, a 64-bit Windows OS must be accompanied by 64-bit Oracle Express server and consequently 64-bit Tool. Same applies for 32-bit architecture. Users cannot use 32-bit Tool on a 64-bit Windows with Oracle Express. This limitation does not apply to MS SQL Server Express or MySQL, for both supporting 32-bit and 64-bit ODBC Connectors concurrently.
Install Oracle Express Edition
For this article, Oracle Express Edition 11g is used for demonstration purpose. Users can setup any version of Oracle server in a similar fashion. It is assumed that users have Window 7 64-bit OS and installed 64-bit Tool on the computer. 64-bit Oracle Express will be installed. For 32-bit OS, the setup carries the same steps, except the 32-bit installer should be downloaded. 32-bit Tool should be running on 32-bit computer.
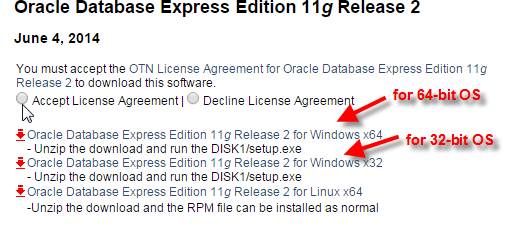
- Download Oracle Express Edition 11g installer from the following link http://www.oracle.com/technetwork/database/database-technologies/express-edition/downloads/index.html. Click on Accept License Agreement and follow the link for “Oracle Database Express Edition 11g Release 2 for Windows x64”. (For 32-bit Windows OS, follow the “… for Windows x32” link.)
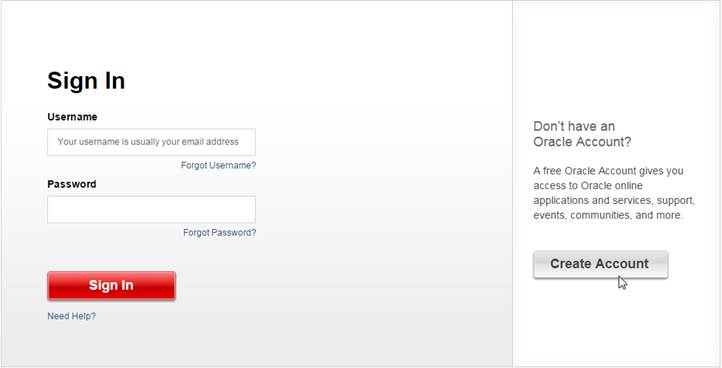
- Users need to Sign In to Oracle Account to download the installer. If prompted to sign in, type Username and Password and click Sign In button. The downloading will be automatically started. If users don’t have Oracle Account, a new account should be created by clicking Create Account button. Follow the instruction to complete the account creation and repeat this step.
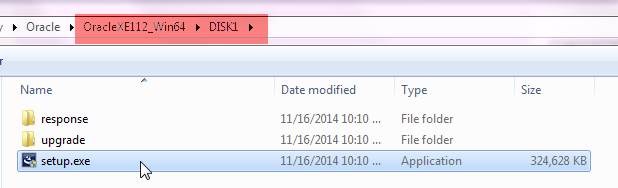
- The downloaded installer is in a zip file. Double click on the zip file and unzip it to a local folder.

- In the unzipped installer folder, find DISK1 -> setup.exe and double click to start installation.
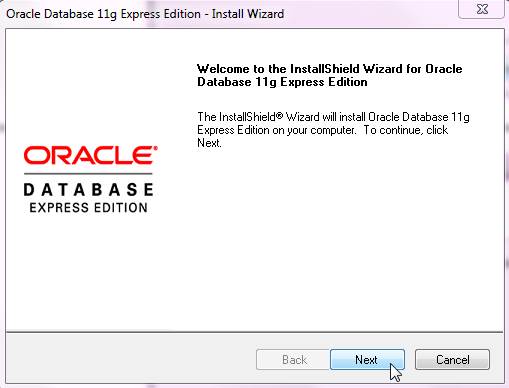
- Follow installation instructions. When prompted for configuration settings, such as installation path, use the default settings provided by the installer. Click Next to continue from page to page.
- When prompted to enter SYSTEM Password, enter a proper password. Note down this SYSTEM Password. It will be used later for database configuration.
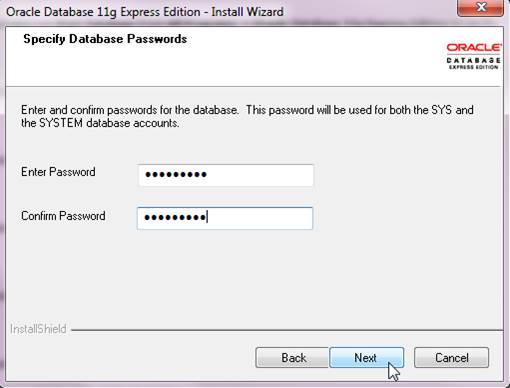
- Click Install to begin installation process.
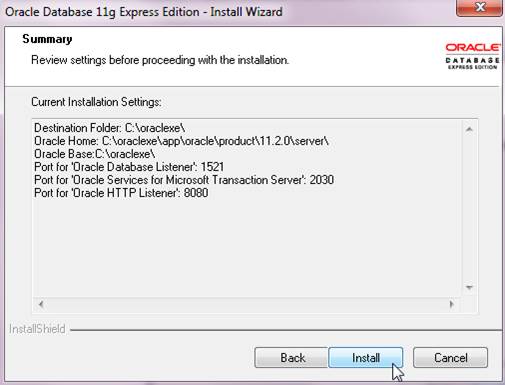
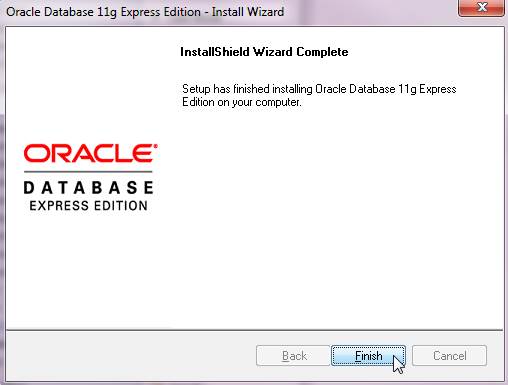
- Installer will complete the installation. Next step is to verify ODBC Connector and start database configuration.
- There are two versions of ODBC Connectors, 32-bit and 64-bit, installed by each version of Oracle Express installers. This is how to verify them:
- For 64-bit Windows OS, type this command in Windows Start -> Search box “c:\windows\system32\odbcad32.exe” and enter.
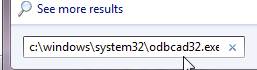
- In the ODBC Administrator dialog, click “Drivers” tab. There should be “Oracle in XE” there.
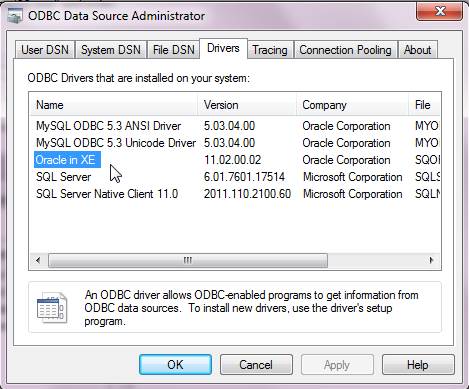
- For 32-bit Windows OS, users can open the ODBC Administrator from the Control Panel: Click Start, point to Settings, and then click Control Panel. On computers running Microsoft Windows 2000 or later, double-click Administrative Tools, and then double-click Data Sources (ODBC). The ODBC Data Source Administrator dialog box appears. The ODBC driver “Oracle in XE” should be in the list.
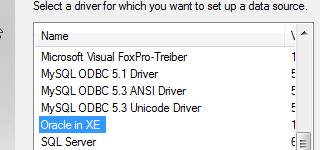
- For 64-bit Windows OS, type this command in Windows Start -> Search box “c:\windows\system32\odbcad32.exe” and enter.
- Before database configuration, users need to ensure Oracle server is running. After installation, the Oracle Express server should already be running. However, users can always run Start Database from All Programs -> Oracle Database 11g Express Edition to verify.
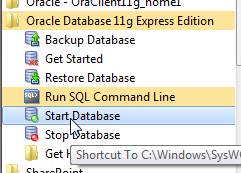
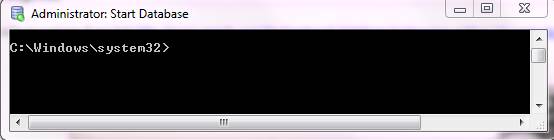
- If Oracle server is not running, it will be started by the Start Database command. If already running, it shows the following idle confirmation.
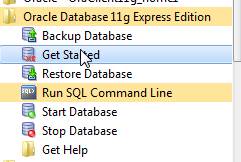
- Next, click Get Started from the same program folder to go to database client UI.
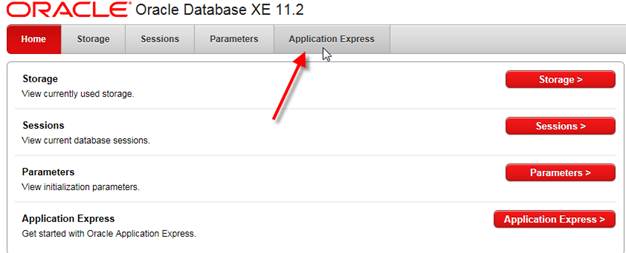
- Click Application Express in the client UI homepage.
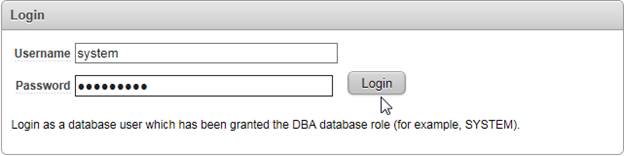
- When prompt for Login, use “system” and the System Password created during installation.
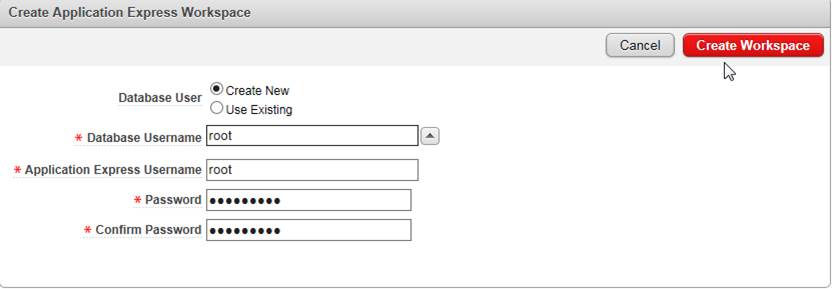
- In Application Express UI, give appropriate Username and Password and Create Workspace. For production setup, always follow company security policy to create Username and Password. The sample given below is for demonstration purpose only.
- After the workspace is created, users can login to verify.

- Log in with credentials just created.
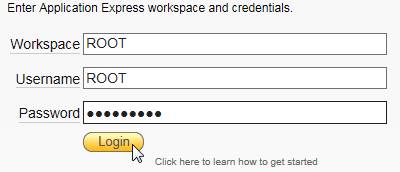
- If login is successful, the Database setup and the Modelspace database configuration are done. User can use the build-in functions to examine the database. The database should contain only system tables at this time.
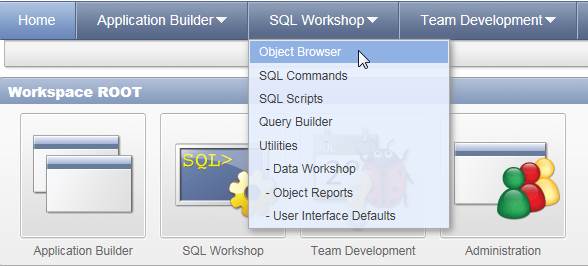
- Setup is completed. Note down the Workspace/Username and Password. They will be used in Modelspace configuration in the next step.
Trouble Shooting
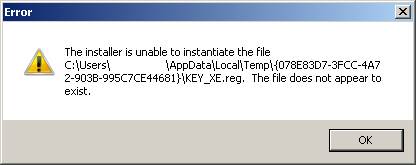
- During Oracle Express installation, if the following “KEY_XE.reg” error message is shown, the 32-bit installer has been used on 64-bit OS. Download the 64-bit installer and use it for installation instead.
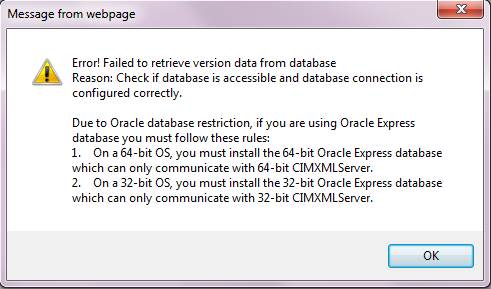
- If the following error is prompted when users try to establish a connection to Oracle Express Server, the likely cause is the Oracle Express Server stops running or mismatch between Tool and Oracle Express server.
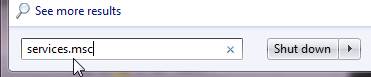
- To restart MySQL Server, in Windows Start -> Search box, enter “services.msc” and enter.
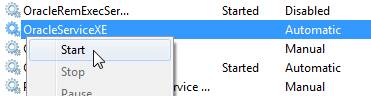
- Find “OracleServiceXE” service. If it is not “Started”, click Start from its context menu.
- If the Oracle service is “Started” when the error appears, check that both the Tool and Oracle Express server are the same version: either 32-bit or 64-bit. For 64-bit Windows OS, users must install 64-bit Oracle Express server and run 64-bit Tool.